Written
by Marc B


Last
week we introduced beginners to ISO, and in previous week’s we introduced
aperture and shutter speed. This week is our fourth and final part in our Introduction
to Photography Exposure Terms blogs; we’re introducing exposure ie. how to bring
it all together.
The correct
exposure for an image is a combination of shutter speed, aperture value, ISO setting
and scene brightness, with each of these values having an effect on the
exposure.
If
any of the values of these settings change, it is necessary to change one or
more of the other values to make up for it.
For
example, where an exposure of 1/125th at f8 and 200 ISO is the
correct exposure for the scene brightness, and you choose to change the
aperture to f5.6, more light will pass through to the sensor so the image will
now be over exposed. To accommodate this
change you will need to adjust another setting.
Assuming
you couldn’t change the light levels in the scene, options would be:
·
A faster shutter speed (in this case 1/250th). This would halve the amount of light that the
shutter would let in and therefore bring the exposure back to the original
value, making up for the fact that the aperture is letting in double the light
as it was originally.
·
Lower the ISO setting to 100 ISO.
This would lower the sensitivity of the sensor by half and would also
make up for the original opening of the aperture being opened up.
·
A combination of both.
Below
are some examples of photos taken at the correct exposure, then under exposed
by two stops and over exposed by two stops.
This
is the correct exposure according to the camera - a good overall exposure with
some loss of detail in the brighter and darker areas.

This
photo has been under exposed by two stop of light, resulting in a much darker image
as compared to the image above. There is significant loss of image information
in the darker and mid-toned areas.

The
below photo has been over exposed by two stops, resulting in a much brighter
image as compared to the first image. There is significant loss of detail in
the light areas.

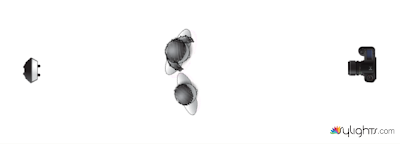
This
diagram shows the relationship between all the values that need to be considered
to get the exposure right on a camera.

The
most important thing of course, is to experiment. Get out of Auto mode; see what happens when
you change the camera settings. It costs
nothing and you have everything to gain.
If you have any questions about any of the information you’ve learnt
over the course of this Introduction to Photography Exposure Terms blog posts,
feel free to contact us or ask in the comments section below.
We
are always happy to talk cameras!