


There is a massive selection of filters on offer to improve your landscape, seascape and cityscape photography. They can range from simple circular polarisers that screw onto the front of your lens to professional kits that hold various combinations of ND and Graduated ND filters.
We are spoiled for choice these days when it comes to adding creativity to our shots with filters, but there are types of filters that in our opinion are hands-down the best filters for landscape photography.
Before we reveal which filters are our pick for “Most Valuable
Player” though, let’s briefly go through some of the different types of filters available and what they do.
Ultra-Violet (UV) Filters
Most photographers are familiar with
UV filters, they are used primarily to protect your lens and were originally
designed for use with film cameras, because photographic films are sensitive to
ultra-violet light which can cause haziness or fogginess.
Luckily UV light doesn’t affect image sensors like it does film, but UV filters are still incredibly useful as your first line of defence against drops & knocks.
Luckily UV light doesn’t affect image sensors like it does film, but UV filters are still incredibly useful as your first line of defence against drops & knocks.
 |
| A UV filter that has done its job protecting a lens from damage. |
They range from $15 AUD for an After
the Fact filter to $300 AUD or more for a high quality Manfrotto
or Hoya filter.
The more expensive filters boast multi-coatings that reduce
glare and ensure maximum light transmission, they are usually worth spending more
on if you’ve already splashed out on a nice high-end lens.
Polarising Filters
These shady pieces of glass are strong contenders for the title
of most useful landscape filter, they essentially work like sunglasses for
your camera and make your scene darker by reducing glare and minimising reflected
light. Polarising filters are incredibly useful in landscape photography.
By reducing the reflected light that enters your lens, the vibrancy as well as colour saturation can be increased to make the colours pop in leaves, grass and foliage. They can also be used
darken the sky to bring out more detail in clouds.
 |
| Polarisers are perfect at boosting out the colours and increasing the vibrancy of a scene. |
Circular polarisers can be rotated to adjust the intensity
of the effect and are best used with a 35mm equivalent focal length that is no
wider than 24mm.
 |
| A shot taken with a polariser on a 14mm lens that demonstrates uneven polarisation. |
When attached to wider lenses you may see an uneven
darkening of the sky, this is because polarisers are the most effective at a 90°
angle from the sun so the part of the sky that is at a 90° angle to the sun’s
position will be darker than the rest of the sky.
Light Pollution Filters
Photographers who shoot astro and cityscapes could benefit from using light pollution filters like the NiSi
Natural Night filter that reduce colour casts caused by mercury
vapour, sodium and low CRI light sources. They allow you to shoot significantly more detailed images
at night.
The video below shows some comparison images shot with and
without a light pollution filter.
 |
| An image shot with and without the Nisi Natural Night Filter |
And the Best Filters for Landscape Photography are…… Neutral Density Filters
Able to turn an simple landscape into an extraordinary
piece of art, the humble NeutralDensity (ND) Filter gives you greater control over the exposure of your scene by evenly
reducing brightness.
 |
| ND filters are ideal to capture flowing water or moving clouds as a milky smooth blur while the rest of the shot is sharp. |

But it doesn’t stop there, Neutral Density filters come in all shapes and sizes for a wide range of
different uses.
Variable ND Filters
Variable
Neutral Density filters are very popular with videographers so they can
fine tune the exposure of their scene, without breaking the 180° shutter rule.
They also allow the use of fast lenses to shoot with shallow depth of fields without over-exposing their shot.
Drone ND Filters
If you’ve got a DJI Mavic, Spark, Phantom, or similar then you can
check out the extensive range of Drone ND Filters
that are available for your aircraft. Using ND filters help to control the
shutter speed of the camera to produce smoother looking aerial footage and images.
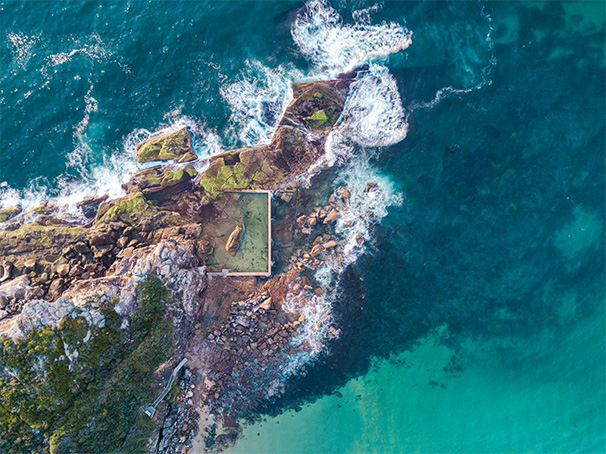 |
| Drone ND filters mean you can add a subtle motion blur to your aerial shots. |
Soft & Hard Graduation ND Filters
Kits like the Nisi Advanced or Professional Filter Kits usually include ND’s in a variety of different densities
to block different amounts of light but they also include graduated ND filters
which rather than reducing the brightness of the entire frame, transition gradually from
being clear to dark.
Graduated filters are usually rectangular which lets you
adjust the line up the transition to match your scene. They are available as a
soft graduation that transitions from clear to darker gently, or as a hard
graduation that has a more obvious line of transition.
 |
| Adding some filters to your photography kit can give you more creative options when shooting. |
There are even reverse graduation filters that can be used when
the brightest part of your composition is in the middle of the frame, making
them a very specialised filter for horizon sunrise or sunset shots.
Inspired and ready to take your landscape game to the next level? Stop by a store or our website and receive a 15% discount across a selection of our ND and Variable ND filters! Be quick. Strictly while stocks last. Ends 1 May.
If you want to know anything more about filters and how to use them to take better landscape images, give us a shout on our social media channels!


