Recent Tweets

Showing posts with label Camera. Show all posts

Owning Multiple Cameras – Part 1

…different cameras for different uses
By Marc B
If only a one-size-fits-all camera existed, one that had the optical and sensor quality of a high end DSLR but in the size of a compact, with a massive zoom range but also wide open apertures.  Such a camera doesn’t exist yet so it’s left to us to pick and choose the right camera for the right situation.  This is great news for us cameraholics who love an excuse to buy yet another cool camera.  But which camera suits which situation?
Most photographers find themselves in a variety of situations that call for different lenses and sometimes completely different systems.  Below are some suggestions of camera types that are suitable for specific situations although any camera is better than no camera at all.

Street Photography

Street photography calls for a small, unobtrusive camera that still produces high quality images.  There are two popular choices for this area.  The first is a compact, fixed lens camera like the Fuji X100s or X20, Canon G16, Nikon Coolpix A or the Sony RX1 R at the high end.  These cameras are relatively small in size but give an outstanding result in challenging conditions.  The advantage of them being so small is the ability to take photos unobtrusively and candidly in a street situation or even a social occasion like a wedding (if you aren’t the primary photographer) where you might want a more relaxed and less posed photo. 
Another option would be a full size DSLR but with a small prime lens attached, like a 50mm or 24mm large aperture lens.  These are cheaper than a high quality zoom lens but can be of similar or better optical quality and in a much smaller form factor.  These cameras can be set up easily for pre focusing (a technique that involves pre focusing a known distance from the camera so you can shoot instantly without waiting for the camera to focus) so you don’t miss that vital moment.

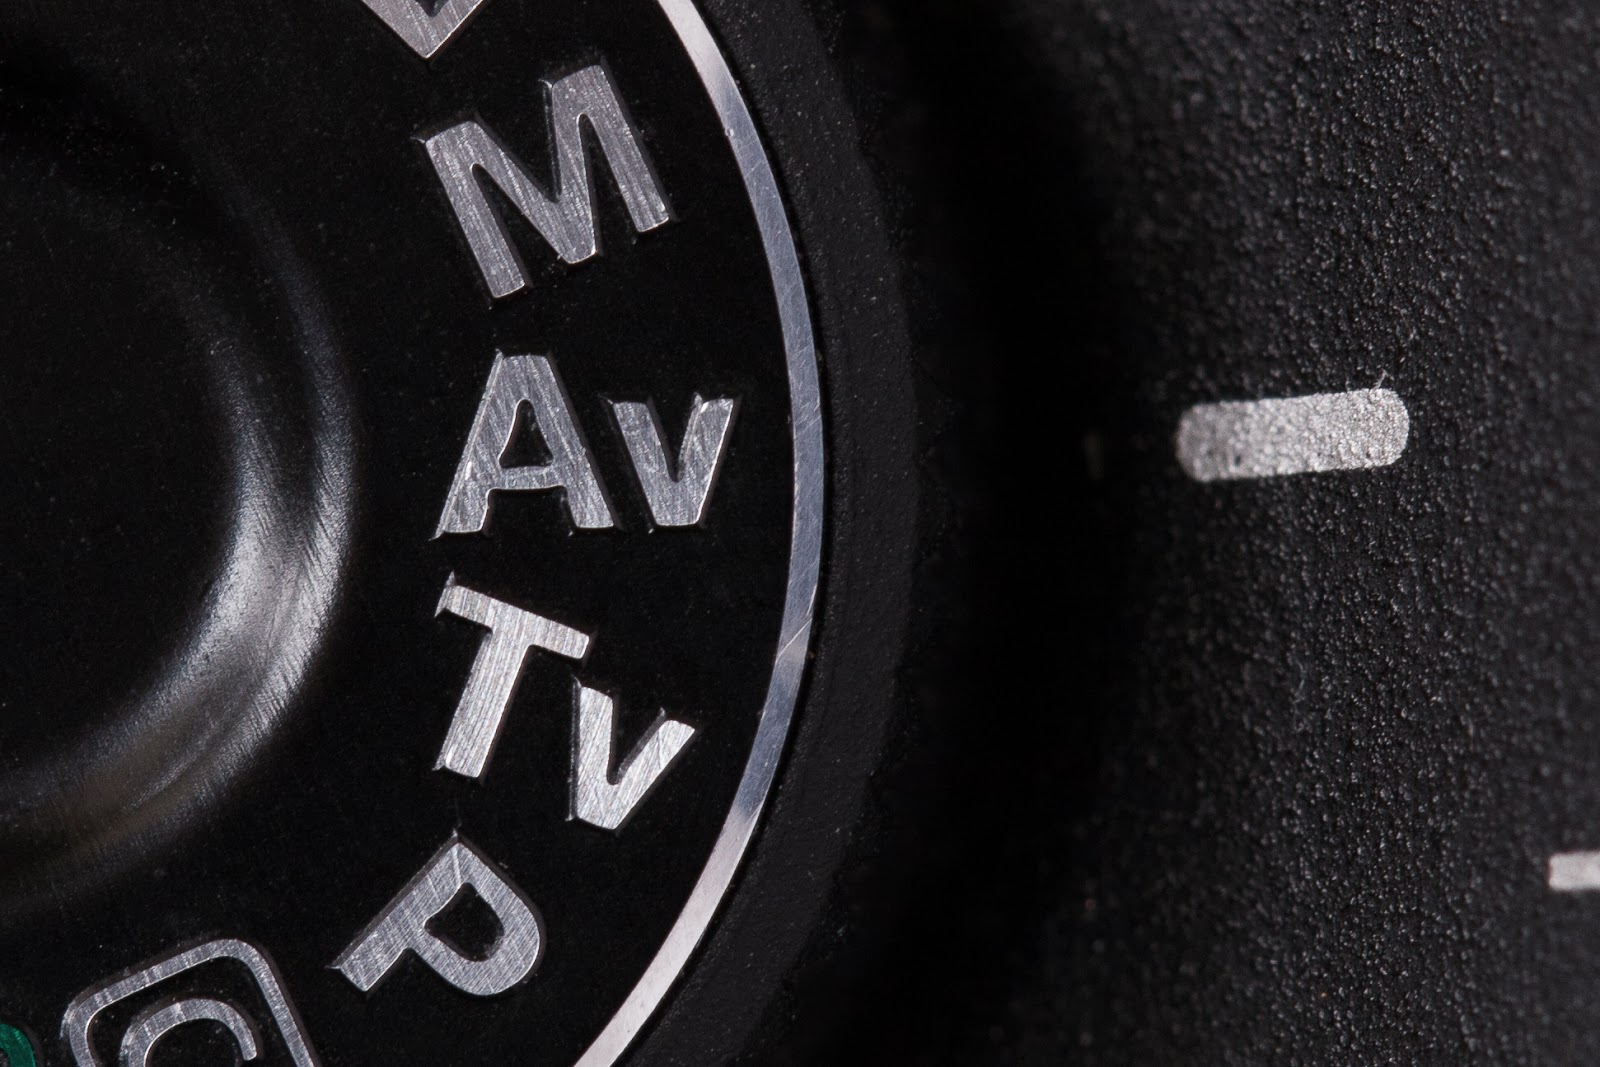
Special Occasion Photography

This refers to things like professional wedding or portrait photography where the image quality is of absolute importance.  For this you want to have the best quality you can afford and ideally this would be professional quality glass with a full frame DSLR.  Size and weight factors are less important here than in other types of photography as the final result needs to be of the upmost quality.  The lens selection is basically the ‘three amigos’; 16-35mm, 24-70mm and 70-200mm lenses (or very similar focal lengths).  This gives the range required for almost any situation you are likely to be in.  Here is a link to our lenses page.
As an extension of this, the cameras listed in the street photography section would also be appropriate as a second camera as long as you understand the limits of the cameras.
Next blog, I’ll be exploring cameras to use for landscape photography, everyday photography and travel photography.

A Call to Action!

Unless you’ve been hiding under a rock-climber for the last few years you’ve likely heard of action cameras or at the very least “GoPro”.   These tiny wearable video cameras have taken the sports/recreation scene by storm and now account for an enormous (and still growing) slice of the video camera market pie.  If you’ve yet to pick up an action camera for yourself or know someone who has it high on their want list, it might pay to brush up on your facts and figures. Let us help with the below information. 
Grab your helmet and strap yourself in as we give you the run down on what’s available and who it’s likely to appeal to.

GoPro Hero 3 Range

The big name in Action Cameras for many years, GoPro was once sought after only by extreme sports people and hardcore divers looking to record their unique past-times.   Thanks to some excellent footage captured by these top users, demand for GoPro among the wider public has soared.  Attach the camera to your head, car, bike, surf board, skate board… press record and do your thing.  Today GoPro is available in 3 different flavours, and a couple of very recent revisions.
GoPro White Edition:
Entry point to the GoPro range, the White Edition packs all the fun and waterproof ruggedness into a low cost package, ideally suited to casual/family use.  GoPro White is compatible with all of the GoPro mounts and accessories and still features built in Wi-Fi connectivity for Smartphone/Tablet remote control.  Full 1080 HD video capture is present with 5MP stills and the same 60m waterproof housing as higher models in the range.
GoPro Silver and Silver+ Edition:
Middle child of the GoPro set, the Silver Edition builds on the specs of the White Edition increasing the still photo resolution to 11MP, time lapse and adding a 10 frame per second burst shooting, advanced recording modes such as looping video, manual white balance and ProTune aimed at cinematic colour grading.  The new Silver+ improvements include reduced size and weight, 30% better battery life, faster Wi-Fi access and better lens optics for even sharper footage.
GoPro Black+ Edition:
Feature packed and among the most wanted, the GoPro Black+ Edition crams so much into its tiny form factor to easily please even the most discerning video adventurer.  Used by professionals in the sports broadcasting, documentary filmmaking and news/journalism fields and loved by enthusiasts the world over.  The GoPro Black+ Edition comes bundled with its own wireless waterproof remote, ability to record higher than Full HD at 4K and 2.7K resolutions, slow motion capture of up to 120fps as well as improvements to low light capabilities and still image capture and a better lens, smaller (by 30%) form factor and better battery life than the recently replaced Black Edition.

Competitive Spirit

While GoPro are the undisputed kings of action cameras, there are still two places on the podium.  Contour and Sony both have enviable reputations in the marketplace.
Contour
Contour, one of the original action camera manufacturers has two cameras in their current range, the ROAM2 and the +2.
This is the entry level Contour camera and features a 270 degree f2.8 lens projecting onto a high quality 5 megapixel sensor.  This camera records at full high definition at 30fps and high definition at 60fps and is waterproof without a case down to 1 metre with an optional housing that goes down to 60 metres.   The lens rotates 270 degrees for level mounting on any angle surface and has an easy to activate record button.
The +2 has a lot of the same features as the ROAM2 but with a better quality lens and better low light performance. It also features built in GPS functionality and Bluetooth connectivity.  It also does full high definition video and 120fps slow motion video at 480p.
Sony
Sony has just announced its all-new Action Cam HDR-AS100V (as detailed in our blog below) – it’s a new splash proof wearable video camera that records high-quality Full HD pictures. Due in Australia in March.
Currently available, the Sony HDRAS30V is an awesome action camera from the electronics giant.  It is almost the same as far as sensor and lens (170° Ultra-Wide Angle Carl Zeiss Vario-Tessar Lens) as the previous version but with a few new tricks added to keep it very current.   This video camera uses the excellent Exmor R Back-Illuminated CMOS sensor for great colour reproduction and very good low light performance.  The recording options go up to 60fps at full high definition or high definition at 120fps.  You can also record slow motion video at 120fps or 60fps at a resolution of 1280 x 720p.  Still images can be captured at 11.9 megapixels.  Connectivity options are ample with the camera featuring Wi-Fi and NFC compatibility.  It also has GPS built in, of course.  You can buy this with an LCD housing to give it an LCD screen so it can be used as a normal camcorder and it also has a universal mount adapter included to fit all of your existing GoPro mounts.  This camera is excellent value for money.
So, when looking around for cameras to capture your adventures don’t just limit yourself to the GoPro range.   There are a lot of options out there for recording high quality video footage of you and your friends crashing/jumping/winning/riding your favourite extreme sports.

Introduction to Photography Exposure Terms – Part 4: Exposure

Written by Marc B

Last week we introduced beginners to ISO, and in previous week’s we introduced aperture and shutter speed. This week is our fourth and final part in our Introduction to Photography Exposure Terms blogs; we’re introducing exposure ie. how to bring it all together. 
The correct exposure for an image is a combination of shutter speed, aperture value, ISO setting and scene brightness, with each of these values having an effect on the exposure. 
If any of the values of these settings change, it is necessary to change one or more of the other values to make up for it. 
For example, where an exposure of 1/125th at f8 and 200 ISO is the correct exposure for the scene brightness, and you choose to change the aperture to f5.6, more light will pass through to the sensor so the image will now be over exposed.  To accommodate this change you will need to adjust another setting. 
Assuming you couldn’t change the light levels in the scene, options would be:

·           A faster shutter speed (in this case 1/250th).  This would halve the amount of light that the shutter would let in and therefore bring the exposure back to the original value, making up for the fact that the aperture is letting in double the light as it was originally.
·           Lower the ISO setting to 100 ISO.  This would lower the sensitivity of the sensor by half and would also make up for the original opening of the aperture being opened up.
·           A combination of both.
Below are some examples of photos taken at the correct exposure, then under exposed by two stops and over exposed by two stops.
This is the correct exposure according to the camera - a good overall exposure with some loss of detail in the brighter and darker areas.


This photo has been under exposed by two stop of light, resulting in a much darker image as compared to the image above. There is significant loss of image information in the darker and mid-toned areas.


The below photo has been over exposed by two stops, resulting in a much brighter image as compared to the first image. There is significant loss of detail in the light areas.
 
 
This diagram shows the relationship between all the values that need to be considered to get the exposure right on a camera.


The most important thing of course, is to experiment.  Get out of Auto mode; see what happens when you change the camera settings.  It costs nothing and you have everything to gain.  If you have any questions about any of the information you’ve learnt over the course of this Introduction to Photography Exposure Terms blog posts, feel free to contact us or ask in the comments section below.

We are always happy to talk cameras!

Introduction to Photography Exposure Terms – Part 2: Aperture

By Marc B
Last week we introduced beginners to shutter speed. This week (in Part 2 of the Introduction to Photography Exposure Terms), we’re introducing aperture.  
Using these two settings effectively, along with ISO settings, are key factors in creating the type and style of photograph you want. Think about the outcome you want and adjust your settings. Experimentation is the best way to learn what works, and most importantly, what works for you. So start shooting!

Aperture

There are two reasons to adjust aperture settings. These are, to control the amount of light in your photographs, and creating your desired depth of field in each shot.
Light
The aperture or ‘f stop’ refers to the opening inside a lens that controls how much light passes through the lens to the sensor.  In most lenses this is variable so the photographer can control the light with a high degree of accuracy, choosing if they want a brighter or darker photograph.
The widest aperture of a lens is usually written on the front the lens, and is usually shown as, 1:2.8. This means that the largest aperture on the lens is f2.8. 
On some zoom lenses it may be expressed as something similar to, 1:3.5-4.6. This means that at the widest focal length of the lens the largest aperture is f3.5 and when you zoom all the way in, the largest aperture will be f4.6.  The different representation of the aperture on a zoom lens is because the lens itself absorbs light as it is extended or ‘zoomed in’.
Depth of Field
Controlling the area of apparent sharpness in an image is referred to as the depth-of-field (dof) in an image.  A large aperture (which is achieved by selecting a small number ie. f2.4) will give a shallow depth of field to an image, and a small aperture (which is achieved by selecting a large number ie. f22) will give a deep depth of field.
In the graphic below the relative sizes of the apertures are shown.  At f22 the image will have apparent sharpness from front to back.  At f1.8 the image will have a narrow band of sharpness, or a shallow depth of field.

Examples
The first image is shot with a large aperture of f2.8 and you can see how the depth of field drops off quickly and the image loses sharpness.
 
The second image was shot with a small aperture of f22 and the depth of field is now very deep and there is detail a lot further back into the image.


Keep in mind that if you want the entire image to be sharp you need to use a small aperture (choose a large ‘f stop’ number).  If you want to achieve a shallow depth of field, use a large aperture, such as f2.4 or f1.8.
Experiment and have fun!
Next week, Part 3 of our ‘Introduction to Photography Exposure Terms’ will be on ISO.

Top 5 Inexpensive Flash Accessories

By Daniel S


1. Gary Fong Puffer Pop-up Flash Diffuser
This small diffuser is an impressive piece of equipment, designed to diffuse the standard hot shoe flash that you will find on most DSLR and mirrorless cameras. It greatly improves the quality of the light. Traditionally, on board flash is harsh and too direct. Whilst the Puffer is not quite as good as a full size diffuser and flash, it definitely is the more compact option and a good addition to any camera bag.

The regular Puffer is designed to suit Canon, Nikon, Pentax, Olympus Four Thirds and Panasonic Lumix (hot shoe) cameras. We also sell a Konica Minolta/legacy Sony diffuser and a Micro Four Thirds diffuser.

A hot shoe is a requirement for this accessory. Feel free to contact us  to discuss compatibility with your camera.


2. Hähnel Combi TF Remote Control & Flash Trigger
This compact flash trigger allows you to get your flash off the camera. Each package consists of a transmitter and a receiver; one for the camera, the other for your flash unit. The Hahnel Combi TF allows for manual flash photography off camera, up to an impressive 100 metre range. Flash power is set on the flash unit while the camera settings determine the brightness of the light.

Off camera flash gives you more control over the look and style of your images, from soft flattering portrait set-ups to dramatic high contrast scenes. Off camera flash can give much more dynamic results.

The triggers come in a range of fittings for the main brands – Nikon; Canon, Pentax and Samsung; Olympus; Sony; and Panasonic.

Feel free to contact us to check on compatibility with your camera. Those wanting a more automated product may consider the Hahnel Viper (Canon only) or the Pocket Wizards.


3. Strobist Single Kit with 2m Light Stand & 100cm Umbrella
The Strobist Kit is an inexpensive lighting kit for use with an external flash; it can be used with a wireless flash or with triggers such as the Hahnel Combi units above.

The flash attaches to the top of the hot shoe umbrella mount allowing you to shoot through the umbrella, softening the light. This provides a portable flash solution that won’t break the bank.

The kit consists of:
• 1 x 3-section 200cm Mircopro LS-8003 Light Stand
• 1 x Flash Hot Shoe Umbrella Bracket
• 1 x 40" Two Layer Umbrella
• 1 x Soft Padded Carry Case

Those interested in more powerful options for the studio should check out some of our other studio lighting kits.


4. Gary Fong Lightsphere Collapsible Basic Kit
The Gary Fong Lightsphere kit is an impressive accessory that allows for diffusion of an external flash. The diffuser can be used on camera or off camera and softens the light dramatically - great for flattering portraits, lighting up backgrounds, shooting interior shots and filling light for landscapes.

The light diffusion is so good that it is not necessary to remove the flash from the camera. A must have for shooting enthusiasts and professionals who are on the move; a very popular choice for wedding photographers. The basic kit includes accessories to colourise the light and warm/balance the colour of the flash. As the diffuser is a big sphere there is the potential for light to dissipate out the back so the included chrome dome (silver piece) directs more of the light forward; this allows for more power which is great for large group portraits.

Here is a video from Gary Fong that goes into a little more detail about the Lightsphere.


There is also a Gary Fong Lightsphere Collapsible Pro Kit available if you would like a few more options to shape the light.


5. Sekonic Flashmate L-308S Light Meter
A light meter, whilst not a necessity in the digital world, is a very good accessory to have for flash photography. As many flash units and add-ons allow for automatic lighting, and digital images can be viewed instantly, many people have stopped using flash meters in their studio practice. Flash meters are a good idea though if you want to ensure you get the settings perfect and if you would prefer not to have to keep shooting test shots and checking the back of the camera. A light meter is indispensable for calculating ratios for multiple lights. Some of the more advanced meters can meter different lights individually and provide the ratios in the meter so you do not have to crunch the numbers yourself.

The Sekonic L-308S (pictured) is a great starting point that will accurately meter the power of your flash and provide the appropriate camera settings. There are many options with light meters and the rest of our range can be viewed in our light meters and add-ons section on our website.

If you need a hand with any of these flash accessories please call us on 1300 365 220 or email info@digitalcamerawarehouse.com.au.

What are your favourite flash accessories or techniques? Let us know in the comments below.

Introduction to Photo Exposure Terms - Part 1 - Shutter Speed

I recently presented at the Australian Art Show in Melbourne and Sydney, on a number of aspects of photography. The ‘Introduction to Photography Exposure Terms’ for beginners was popular, so I’ve turned it into a four part blog – Part 1: Shutter Speed, Part 2: Aperture, Part 3: ISO and Part 4: Exposure.
When you are a photography beginner, information is a great way to understand the basics and to help build some confidence. Of course, the best way to learn is to just get out there and get shooting!
What is a ‘stop’ of light?
A stop of light is either half or double the existing exposure.  So, when you add light (using the ‘+’ on the dial) you are making your photo brighter and when you reduce the light (using the ‘–‘ on the dial) you are making your photo darker.
If you under expose the image by one stop you are halving the amount of light that is hitting your sensor.  If you are over exposing by one stop then you are doubling the amount of light that is hitting your sensor. 
A number of cameras have a dial that has a +1, +2 and +3 with a corresponding -1, -2 and -3 on the same dial.  This is called the exposure compensation dial and allows the photographer to instantly over or under expose the photo. 
Command Dial
All DSLR cameras have a way of changing the three main exposure settings (shutter speed, aperture, ISO). The most common way is through a command dial which is found on one of the shoulders of the camera.  The photo here is from a standard command dial on a Canon camera. The letters stand for:

·      M – Full Manual control over shutter speed and aperture
·      AV – Control over the Aperture Value, in this mode the camera will automatically set the appropriate shutter speed to give the correct metered exposure based on whatever aperture you select
·      TV – This gives manual control over the Time Value (shutter speed) and the camera will again automatically select the correct aperture value depending on what shutter speed you select
·      P – This is the Program mode which automatically selects an aperture and shutter speed combination to give the correct exposure, but allows you to override this combination if you wish
 
Shutter Speed
Shutter speed refers to the length of time your shutter exposes the sensor of your digital camera.  The longer the shutter speed is, the longer your sensor is exposed.  Changing your shutter speed will do a couple of things:
·      Lengthening the shutter speed will let in more light
·      Shortening the shutter speed will let in less light
·      The slower the shutter speed, the more likely that any movement from the subject or the camera will show up in the image (and sometimes you may want this…)
·      If you have an extremely short shutter speed you can freeze movement
Shutter speed is generally written as ‘1/125’ (which means 125th of a second) but on a camera dial it will usually be shown as ‘125’.

Examples

The photo above was shot at 1/8000th of a second using high speed flash. It shows how a quick exposure can freeze movement and allow you to see details that you would otherwise miss. The shutter was too fast for any background detail to appear.
 

This photo is shot with the exact same set up but at a shutter speed of 1/20th of a second.  The results show the subject is blurred and has lost all fine detail and the photo no longer looks focused.  The background has detail because the shutter speed has stayed open long enough for the grass to appear. 

Next week, Part 2 of our ‘Introduction to Photography Exposure Terms’ will be on aperture.

Shooting Haunted Houses and Kids (for Halloween)

We like to turn any event, celebration, gathering, holiday and weekend into a reason to take photos. And with Halloween coming up and the potential for lots of ghouly and gruesome night shots, we thought some hints and tips would be useful.

Capturing special effects and lighting

When photographing houses to capture special effects and lighting, long exposure photography is a great option. You will be able to capture the decorations and special Halloween lighting on houses.
In terms of equipment, use a sturdy tripod to keep your camera steady and your photos sharp - some exposures can be as long as 30 seconds which is impossible to hand hold.  
To get the best results, shoot with a moderately low ISO in the range of 100-400, to keep sensor noise to a minimum.  This will give a much cleaner result to your shot.  
Shoot in RAW to give yourself the ability to recover detail in bright and dark areas in your post processing flow.  When taking the photo use a cable release, either a wired or wireless one; this will prevent camera shake if you accidentally move the camera when pressing the shutter button at the start of your exposure.  
Experiment with your exposure to get the best result, overexpose by a couple of stops to see what the results looks like. No need to follow the rules, just have fun!

Capturing the creepy kids!

It’s not just decorations and lighting you will want to capture. Taking photos of your kids in costume can be great fun.  Using some off-camera flash with gels can add awesome light to your image.  A good trick is to fire the flash from behind your child-zombie who is facing toward the camera. This will give a backlit silhouette effect that looks great.  Try with any colour gel (a green or orange one looks great).  
 

Placing the flash in different places around your kids to change the effect and using a slower shutter (approximately 1/8 of a second) will also capture any lights or decorations in the background.  This is great for ambience and to help set the scene.  For this type of shoot you will need a DSLR, an off-camera flash, flash trigger and some gels.  If you hand hold the camera, be sure to increase your ISO to capture the background lights.  
This should be a fun shoot. Experiment with anything you can think of - there are no limits to what you can try!

Timelapse Photography

Shooting a time lapse is getting more and more popular.  It is a lot easier for the general public to produce time shifting videos and much cheaper than it was ten years ago. Time lapses combine all the challenges of still and moving photography in one and the results can be spectacular.  So what are you waiting for?  

What do you need for a time lapse shoot?

As a basic set up you should have a DSLR camera and lens, a sturdy tripod, a remote shutter release (preferably with an interval timer), a watch and a note pad.

The first decision is, of course, what to shoot.  A cloudy sky is great, as you can really get a sense of enhanced speed and movement and see what this method is capable of with an easily accessible subject (we all have a sky nearby). 

Set up your camera so you have primarily sky in the frame but make sure to include a static area as well like a mountain or some buildings as it can look a bit odd to see just moving clouds with nothing to let your eyes "rest" on within the finished video.

Take a few test shots just to get the exposure correct.  Remember to turn off the autofocus on your lens and also set your camera to manual mode so you don't get any variations in exposure as the clouds move across the frame.  Moving clouds can cause the exposure to change when set to auto.  This is very distracting in the final video, showing up as bright or dark frames. 

Next step is to work out how long you want the video to run for.  This is the maths part. Keep in mind that to ensure your video looks smooth you will need to have at the very least 16 images per second when you make your final movie. This is because the human eye cannot pick up that many pictures one after the other at 16 frames per second so it looks like a movie instead of several photos. Aim for 25 frames per second (fps) to get the smoothest result. This means that to get one second of video you need to shoot 25 photos. So if you want a 20 second clip you need to shoot 25 frames per second. This is a total of 500 images as 20 seconds X 25 frames per second (fps) = 500 images. You can work out how many frames you need by simply substituting the first number (how many seconds you want your movie to run for).  If maths isn't your strength then there are a few good free Apps that automatically calculate this while also allowing you change all the other parameters.

Now you need to work out your interval and shutter speed. Your interval is dependent s on the speed at which your scene is changing and also how much you want to speed up the scene. If a storm is rolling in and the clouds are moving quickly you will need to shoot at every second or quicker so that the end result doesn't look too "jumpy" i.e. there shouldn't be an obvious jump from one frame to the next.  If the clouds are moving slowly then reduce your interval to about 2 seconds or longer.

When choosing your shutter speed, the golden rule is that your shutter speed should be the same length as your interval time.  So if your interval is one photo per second, your shutter should be open for 1 second every time as well (this is often referred to as a 180 degree shutter).   Longer shutter speeds are also better because there is less chance of a darker or lighter frame due to slight variations in the shutter speed from one frame to the next with a quicker shutter speed.  

Make sure your memory card is empty, as nothing is more frustrating than getting halfway through your shoot and having to change cards as it equates to a dropped frame rate in the final video due to the frames missed while you changed cards.

Should you shoot RAW or JPEG?  

It depends on the amount of post processing you might need to do. I reduce the size of RAW files on my 5D to about 3 megapixels. Remember that HD video is about 2 megapixels. They take up less space on the memory card so there is less chance of running out of space halfway through the shoot. 

Now is when you need an interval timer.  I use the HahnelGiga T Pro wireless timer remote. I pick the interval required and set it on continuous release so that it will keep shooting at the chosen interval until I manually stop it. 

Your final checklist before you head out should include additional charged batteries, empty memory cards and the equipment listed at the start of this article.  Also take along anything you would normally use when shooting landscapes because essentially that’s what you’re doing with the only difference being that this capture moves.

Below is a video made according to the instructions provided here.  It was shot for 25 minutes as the sun set using a Giga T Pro interval timer.  The video is playing back at 25 frames per second, so for every second of video there are 25 still photos used.  The photographs were taken every 4 seconds with an exposure time of 2 seconds per frame.