Recent Tweets

Olympus 40-150mm f2.8 Pro Lens - First Look

We were lucky to get a sample of the new Olympus 40-150mm f2.8 lens to try out. It was a pre-production model but performed very well all the same. Focus was nice and quick and did not falter often over 2 nights of testing.  Here are some photos we shot at the Sydney Night Noodle Markets last month. Some trying conditions considering the low light but the lens did very well.

The long zoom was impressive especially in conjunction with the fast 2.8 aperture. This made it perfect for the candid shots at the markets. Overall a very lightweight lens with pro applications that comes in at a good price. A good buy for anyone wanting to grow their Micro Four Thirds kit. We are hoping to see these lenses hit our central warehouse next week and we will then ship them out to stores. Preorder your Olympus 40-150mm f2.8 lens here - or the Olympus 40-150mm f2.8 lens and teleconvertor here.

All images shot with the Olympus EP-5 and 40-150mm f2.8 lens. Edited in Apple Aperture.


Interview with Photographer James Murphy

by Daniel Smith

I chatted with James Murphy, Newcastle based photographer and educator about his photographic practice and iPhoneography.

Daniel: Hi James. Can you tell me a little bit about your photographic practice? How did you get started in photography?

James: Hi Daniel. I got started in photography with a Yashica twin lens medium format camera my father owned when I was a teenager. At one point I set up a darkroom in my parents bathroom when they were away on holidays and spent the week developing film and printing photos in the shower recess. I later went to many different TAFE hobby classes and became more and more enticed by the black and white image. After attending many TAFE courses I enrolled in a Bachelors Degree in Fine Arts and continued my education in Photography and the Visual Arts.


Daniel: What is your camera of choice?

James: Since the beginning of the year I shoot with a Nikon df, and have just bought a new set of prime lenses 24mm, 50mm and and 85mm to work with and replaced the set of zoom lenses I have used for many years. I also have been carrying a Canon compact with me for a long while, mostly for portability but that is being left home more often now in favour of the Nikon. I’ve always been a Nikon user from the early days.


Daniel: I was quite taken by your iPhone images. Can you tell us how that fits into your overall practice? Is it the fact that you always have the phone on you that attracts you or is there something in the aesthetics of the iPhone images or processing options?

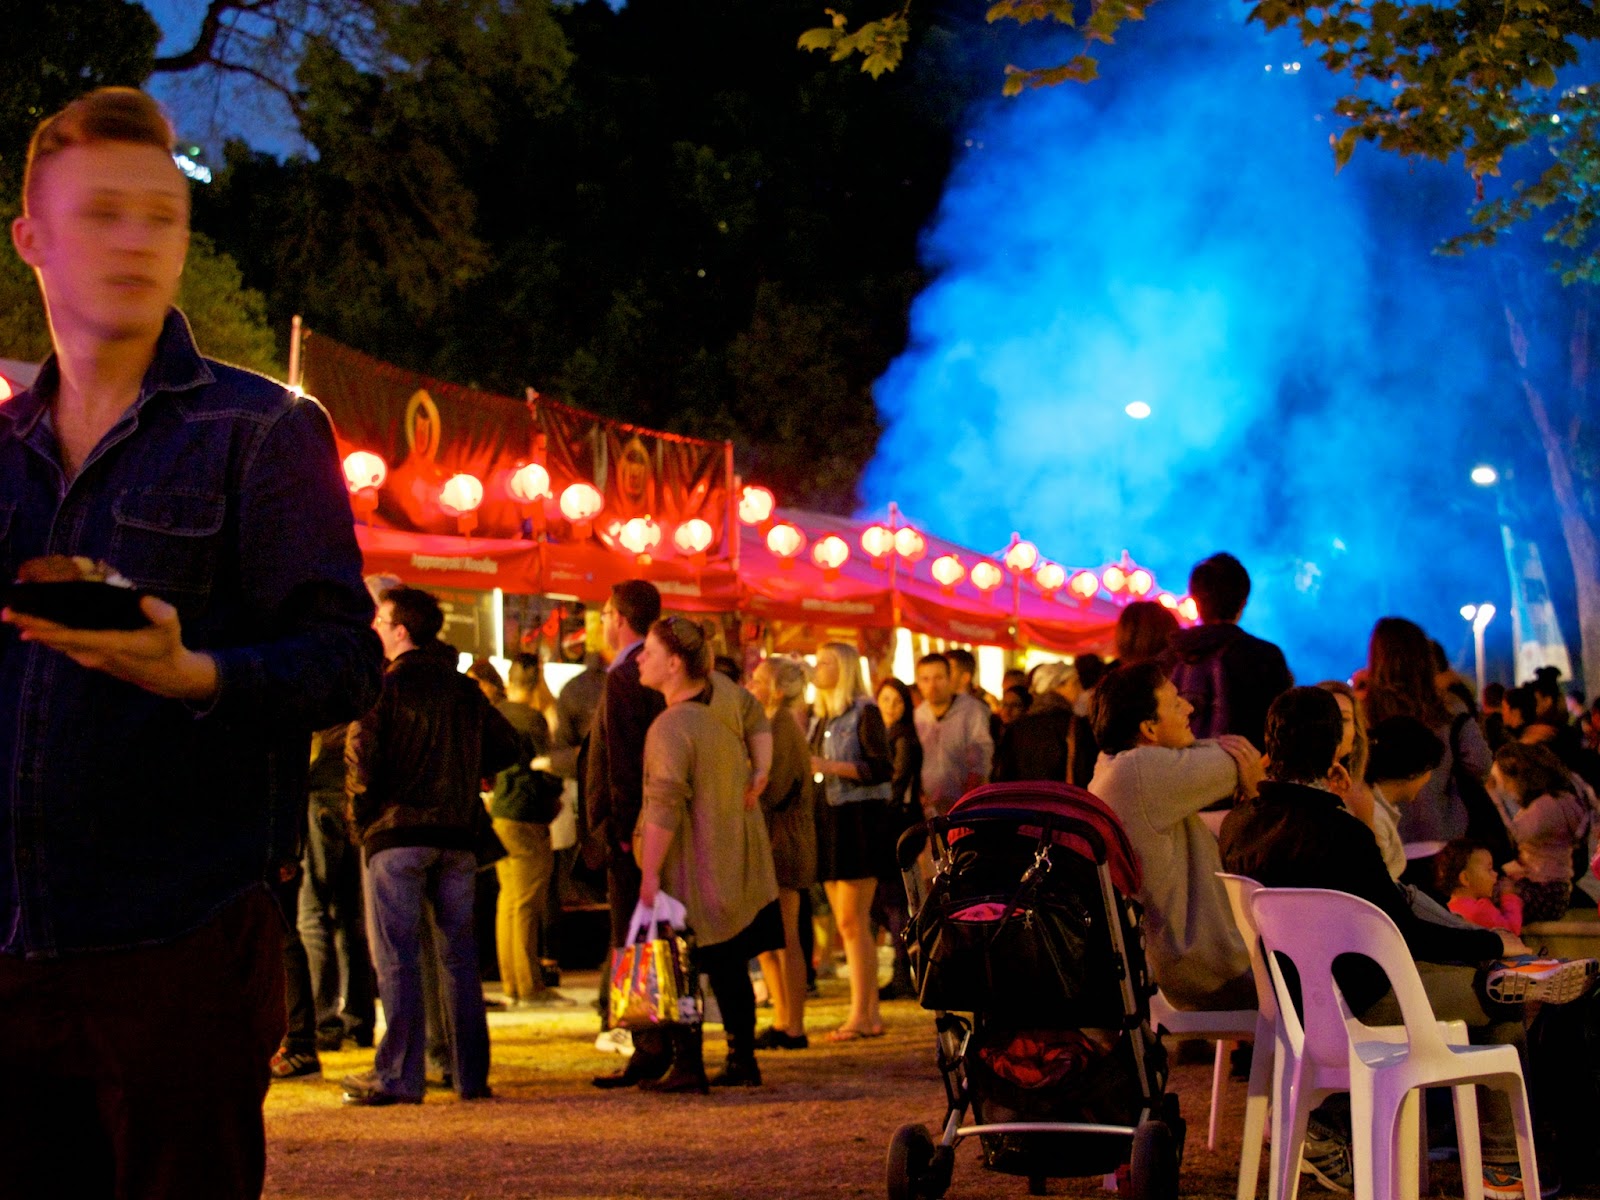
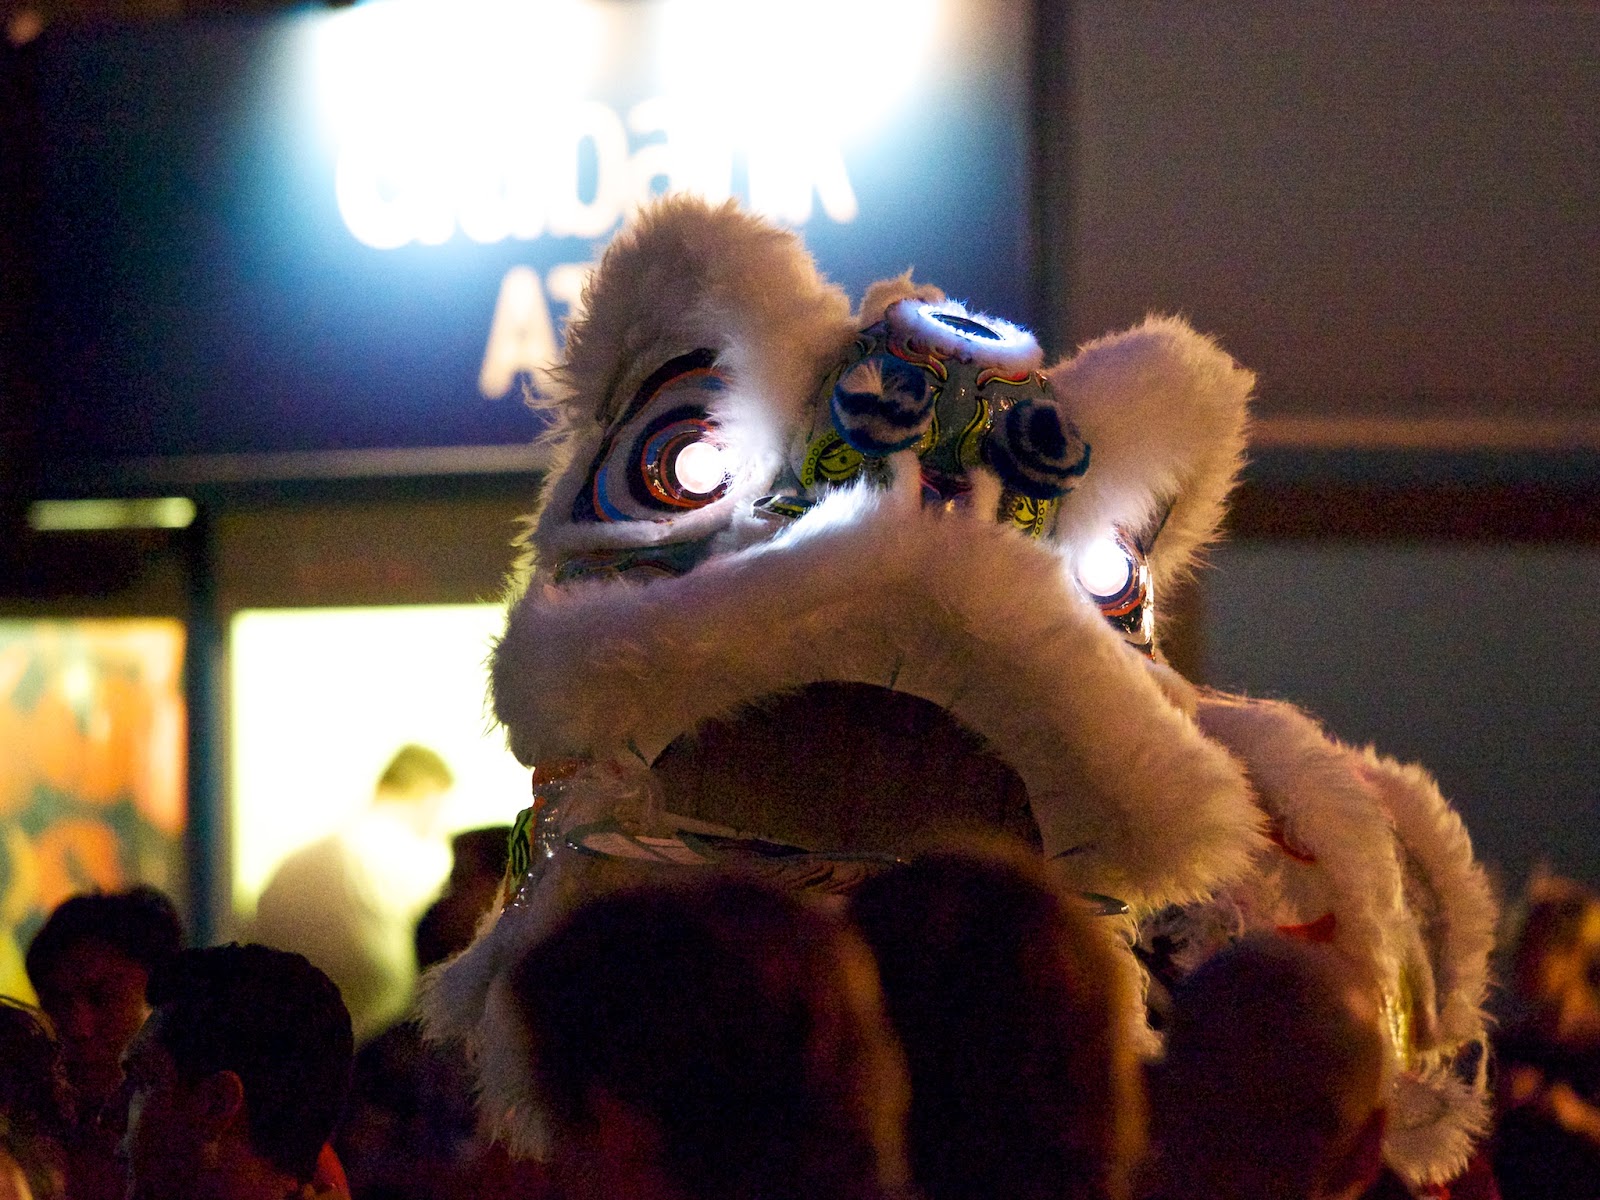
James: Thanks Daniel. The phone camera and Instagram are great because they get the images out there really quickly and I get just as quick a response from those who view the shots. It’s not that the phone is there all the time because I usually have to juggle the phone with the digital camera I am always carrying. The square format is interesting to use as a compositional tool or to crop to from a full frame shot. It’s just really good practice I think, particularly with composition. Sometimes I just crop and re-crop up to a dozen times until the image feels right to me. Using the phone camera as a regular imaging tool is again a way of experimenting for me, a way I can try new things. Every camera you use I think gives you a different take on your imaging.


Daniel: Can you tell me a little about your decision to upload your Instagram images in groups of three. What you see when viewing your feed is a series of triptychs that tie together visually like a mini-exhibition. How does this effect your style of shooting? Do one off images miss out or do you need to find companion pieces for them?

James: At Art school we were always encouraged to work in series. If you delve back into my Instagram feed you will find the point when I started working with triptychs. Prior to that it was just individual images and me getting a handle on what I wanted to do with this new (to me) medium. I enjoy the challenge of working with a series, of what to include and what to leave out. That if there are only two that work then the whole set doesn’t work and will be left on the shelf. I will shoot a one off image of something happening that I’d like to remember but otherwise if I’m shooting I’m always aiming for a set of three and I either get what I want or recognise that it’s not working and move on to something else.


Daniel: Can you tell me about a few of the  different projects that you have been working on. [e.g. Habitat, Two Chairs, The Distracted Sky, After the Fire, or others of your choice]

James: Photography for me, has always been documentary in nature. Whether of the inner or the outer landscape, or more usually both. After the Fire, exhibited earlier this year, was prompted by the fires that swept by the town where my family and I live. The fire came within 30 metres of our home and we were all evacuated and spent a terrifying 36 hrs not knowing what was happening in the town. The devastation caused by the fire brought about an emotional response from me as I wandered the burnt bushland in the months following the fire. The images were created as I walked everyday through the blackened landscape.


Two Chairs speaks to the idea of companionship and growing old together within a relationship. There is a photo I have of my parents both leaning forward and resting on the kitchen bench looking out through the back window. Both comfortable in their silence yet completely in touch with each other. This snapshot inspired this series as I started to notice the special places people reserve as a place to sit quietly in the company of a loved one.


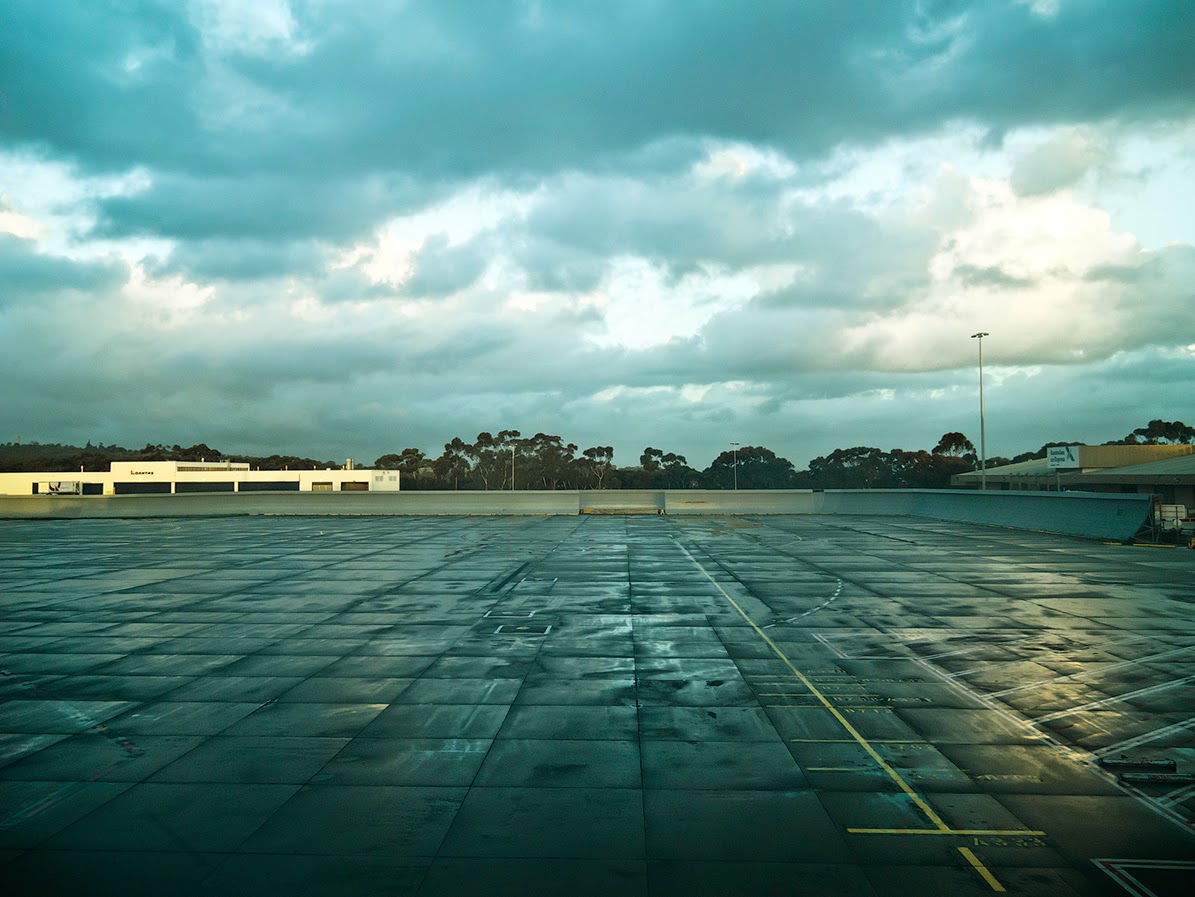
The most recent series is one from a group exhibition called Transit Town. The series was guided by the notion of retaining the feeling of a moment now held only in the wash of memory. The images depict fictional travellers and moments that stick, moments based in the fact of a situation but often viewed through a fictionalised filter in their minds eye.


Daniel: You teach photography. What is the most important thing that you try to instil in photographic students? [or multiple things]


James: There are so many things to know especially with digital post production. Mostly though it’s about knowing what you’re after when you pick up the camera and recognising whether you have it or not in the view finder and then later when you’re editing the image.

Daniel: What pointers do you have for people starting out in photography?

James: Bury yourself in images. Just look at all the photographers you can. Work out what you like and what you don’t. Try everything until you work yourself out and know what you want to do with your images. In terms of technical, I read a lot and I have some authors that I feel simpatico with and I trust what they are saying in terms of editing images etc. Find an author who speaks to you and follow their advice on what’s what.


Daniel: Do you have any practical tips for getting the most out of shooting on the iPhone? [low light tips, good accessories, how to steady shots etc]

James: There are no accessories I use with my iPhone, though I bought a set of lenses for one of my kids last xmas. She is a pretty keen photographer and also enjoys the ease of use she gets from the phone and phone apps. I don’t like to shoot through apps as much as the phone camera though I do occasionally use Toon Camera to grab a shot. The only tip is to keep shooting until you get the shot right.


Daniel: How much post production is involved with each iPhone image and what apps do you use?

James: It usually goes quickly but there are times when I work across 2 or 3 different apps back and forth. Snapseed is almost always my first choice for editing and often the only app I use. The difficulty for me sometimes is remembering the values I use across three different images. Consistency is usually important so I’ll often write done the values - contrast, ambience, structure etc., so all three images come out with the same look.

InstaBlender, Toon Camera are pulled in some times and I’ll sometimes use Decim8 to redo a set of in a new way. This happens if I haven’t shot much and I want to post a set. I’ll review some old images and drag them into Decim8 and wait to see what comes out the other end. It’s pretty wild sometimes and I like the unexpected aspect of this.

More work by James can be seen on his website, Instagram and his blog.


Images copyright James Murphy © 2014


Shooting Transport

Transport, it sure covers a lot of things.  The way we move ourselves and our things around is certainly varied.  From the cars, trucks, motorbikes and bicycles we see every day on our roads to the rarer things like horses and donkeys and Rickshaws. Photographing such a variety can be both challenging and rewarding. 


Here are some of the questions to consider:

·      What do you need to have with you to photograph these modes of transport? 

·      What things do you need to look out for?

·      What are your objectives/goals?

I won’t attempt to tell you what kind of camera system you would need to successfully capture ‘transport’ on your memory card.  The options are just too many nowadays with high quality compacts, awesome MFT and CSC systems and of course DSLR setups that will all give you exceptional results if you know how to use them.  The choice comes down to your budget, the requirements of the image (publishing in a photo book? Facebook only? Instagram? Prints for your house?) and how much gear you want to be carrying around with you (that’s always a big consideration for me).
What I would like to talk about is different things to keep in mind when you are taking photos of your preferred mode of transport.   Things like lens selection, techniques to try, ideas for different photos and safety when you’re out and about. 

Movement
The most obvious thing to show when shooting transport is the movement.  You can show movement in an object by dragging your shutter (slowing the shutter speed down).  How slow it has to be to show movement depends on the speed of the object and how much movement you want to show.  If you want to record car headlights on a road at night you might want a very slow speed, a few seconds at least, but if you want to show a slight blur than you can use a shutter of around 1/40th of a second.  The other option is to pan with the subject resulting in a mostly sharp subject but a very blurred background.  Try this technique on a street corner and pan smoothly when a car turns the corner.  Remember to continue panning during and after you activate the shutter, this can take some practice but that’s the fun! 

One good technique for getting sharp photos of moving subjects is to pre-focus on the spot you think the subject is going to move into and then start shooting just before it hits the area, and hopefully one or more photos will be sharp.  This can be done with any fast subject including sports photography.

Selecting your Lens
Lens selection is another thing to consider, I like to use a wider angle lens when shooting larger vehicles to try and get in as much as I can.  This can also be a good lens for photos inside a vehicle, as normally you don’t have much space to play with.  Longer lenses are good for getting close to the action when you can’t access a better location, for example motorsport or aviation photography.  Longer lenses can also be good for portraits of travellers inside vehicles.

 
Perspective
Try to look for a different perspective than the usual point and shoot crowd.  Things like overpasses or nearby buildings can get you a better vantage point and can help make your photos stand out from the crowd.   You can get some nice photos of car headlight trails moving through intersections, a mess of train tracks or highways merging and looping like spaghetti.  Keep your eyes open to the possibilities of changing your vantage point and you might just end up with a winner!

People
One of the best (or worst, depending on your perspective) things about public transport is the characters that share the space with you.  You see all kinds of people doing all kinds of things on public transport and they can make for some really great character portraits.  The light coming in through the windows can be very nice at times and this can serve you well if you learn to see it properly.


Safety First

The final thing to consider when working with transport is your own personal safety.  Cars move fast and it’s not a good idea to be taking chances around moving vehicles.  Be aware of your surroundings while taking photos and always consider the safety aspect. 
Lastly remember that the more photos you produce, the better you will get as a photographer so get out there and start shooting! And have fun!

Olympus OM-D E-M1 Event

Words by Reagan. Video and images by Daniel S

The Olympus OM-D E-M1 is a flagship micro four-thirds camera model that has received countless awards globally and rightly so. This compact gem is not only retro-styled in a tasteful manner, but also follows suit in packing a punch performance wise.
On Wednesday 8th, our team were privileged to partake in a special Pro Specialist Event held by Olympus at the Hatch Productions Studio in Sydney where they showcased the hot new features and improvements in their v2.0 firmware upgrade for the E-M1 as well as a hands-on play with the highly anticipated 40-150mm PRO Lens (stay tuned for a mini blog review).
Check out the video we’ve put together of the event with Olympus expert Quett giving a brief overview of the new v2.0 software.
Key Improvements found in the OM-D E-M1 v2.0 firmware
 
  1. Keystone Compensation
     
    Allows for the compensation of horizontal and vertical skew that is often encountered when using ultra wide-angle lenses. This is a particularly useful feature for architectural photography. 
  2. Complete Tethered Shooting
     
    Allows complete control of all of the E-M1’s fucntions through Olympus’ new and free
    ‘Olympus Capture’ app (available for both Mac and PC). This app can be integrated with Olympus Viewer 3, Phase One’s Capture One and the Adobe Lightroom workflow software. 
  3. Live Composite
    Capture a single exposure up to a maximum of 3hrs without risk of overexposure. This is a useful feature for star gazers wishing to capture the perfect star trail. Also performs well for fireworks or lightning photography. 
  4. Partial Colour & Vintage Art Filters
    The new Partial Art filter allows for the selective isolation of a particular colour while turning the rest of the image into monochromatic tones with three varying degrees of tolerance. This filter also works with video footage!
  5. Photo Story Mode
    Adds two new layouts for additional collage creation flexibility. A temporary save and resume function allows for collages to be completed at a later date when required.
  6. Old Film Effect
    Adds dust and scratches to your movie to give it an older classic look.
  7. Aperture Lock Function
    Allows for the depth-of-field preview to be maintained without the need to continually hold the assigned depth of field preview button.
  8. Panning Shot
A new panning feature has been added to the Scene Selection mode.
Here are a few images from the day.