
Have you ever wanted to attempt macro photography but weren’t sure where to begin?
If so, read on for some useful tips.
Macro photography is any type of close up photography
that magnifies a subject to life size or greater. This is called the
magnification ratio and is seen on lenses like this: 1:1. A proper macro lens
will reproduce at this ratio and some, like the Canon MP-E
65 will actually magnify up to 5 times larger than life size.
This would magnify a grain of rice to fill the frame of a full size DSLR
sensor!
Successful macro photography can be a challenge and
will certainly take practice and a lot of trial and error but when you get that
perfect shot it will all be worth it.
Firstly, obtain a proper (1:1) macro lens or extension
tube. A dedicated macro
lens is important as a normal lens will
not focus close enough to get any sort of detail in very small subjects. Keep
in mind that a macro lens can be used for general photography as well. A
cheaper alternative are the use of extension tubes
(not to be confused with extenders) which increase the distance between the
lens and the image sensor to allow you to focus at closer distances.
Either of these will ensure a good start in macro photography.
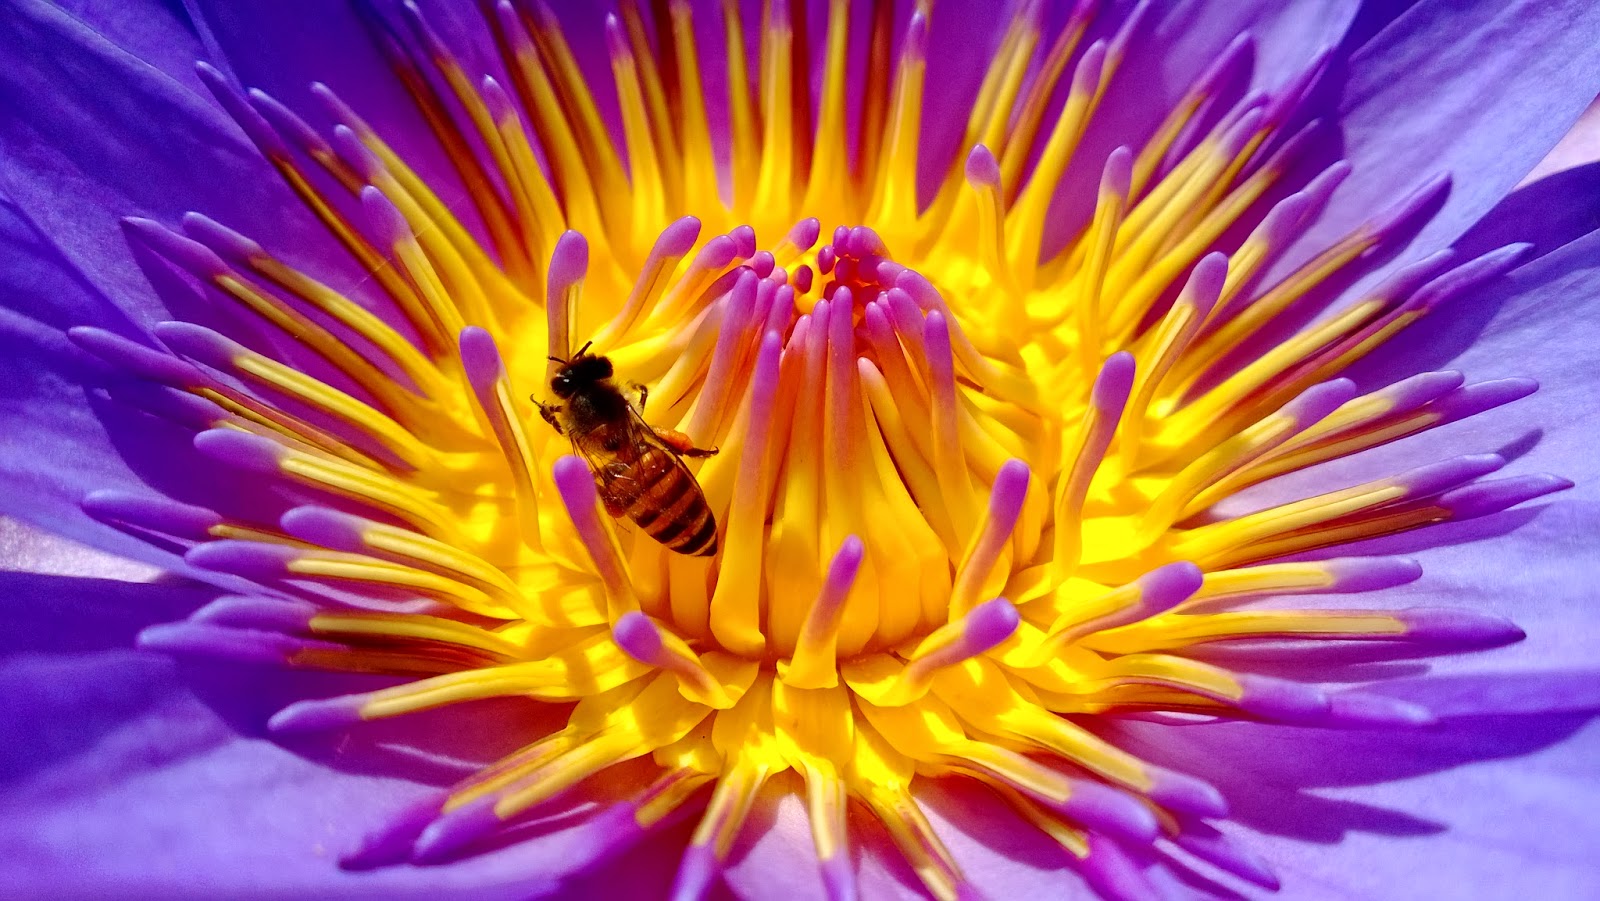
Manual focus is the name of the game. A static
object like a flower (assuming there is no wind around) or a shell is easier to
focus on, simply because the only movement variable is you. If you are
using a good
tripod, preferably with a macro slider,
then it simply requires a little patience to obtain a sharp image. Additionally,
the use of a relatively small aperture such as f11 or f16 will provide more
depth of field in the image. Keep an eye on your shutter speed and use a
remote release or the camera’s built in self timer mode to eliminate camera
shake. If your camera has a mirror lock up mode then this function would
also be good to utilize.
Pre-focus is another great option. If you are trying
to photograph insects a good tip is to set yourself up in an area where your
target is likely to land or pass through and pre-focus on that spot. A wireless remote
release is a very helpful here as it will allow you to step away from
the camera and begin firing as soon as your subject lands in the target zone. You
may get a lot of unusable shots, but on the flip side you may also capture that
perfect shot.
When thinking about lighting, the closer something is
to the front of the lens generally means the difficulty to light it sufficiently
increases. In some cases your lens may actually cast an unwanted shadow
on your subject. Macro flash
attachments (ring flashes) are very useful as they sit at the end of
your lens to illuminate the subject. You can also get constant light LED
attachments that are not as powerful as a ring flash but are cheaper. If
outside, the sun can provide enough lighting for some subjects and you can use
a diffuser to soften the light or to bounce light into the shadows.
Every scenario is different so initially there may be
an element of trial and error but hey, that's the fun of it!


0 comments:
Post a Comment